Baking Station

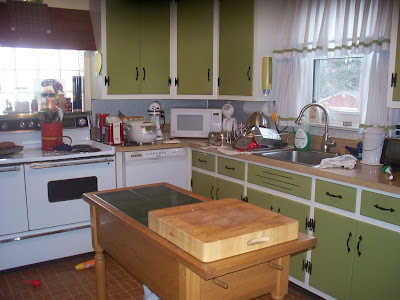
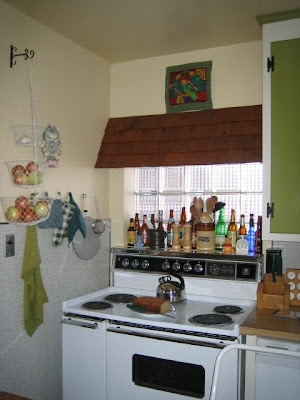
We have lived in this house for almost 8 years. For all of those years, my baking ingredients, such as flour and sugar, were scattered across the kitchen. For a time, the sugars were kept on the shelf behind the stove. Never was it convenient to reach over a hot stove to grab a cup of sugar. Yet, I tolerated the annoyance because the sugar canisters looked so pretty sitting on that shelf.

Finally, I could take it no longer. Pretty be damned. I needed orderliness to reign supreme.

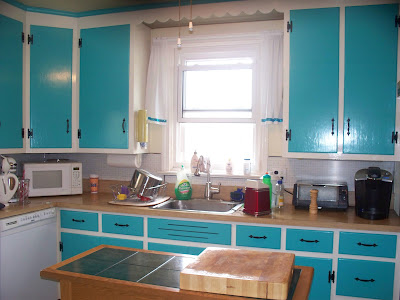
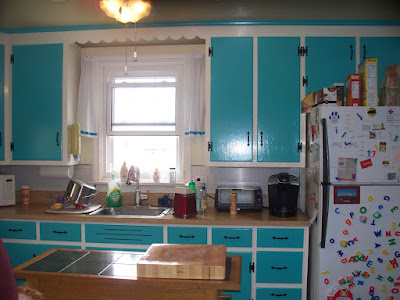
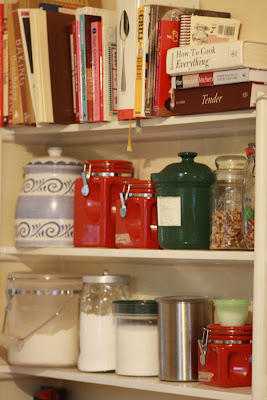
It took some shuffling and some paring down, but the baking ingredients are all housed on the open shelves in between my collection of cookbooks.

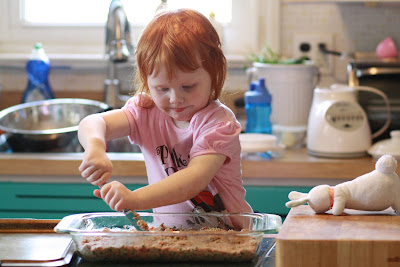
It has cut down on prep time. It has even increased my baking output. It is all just a little easier now, which is good since more often than not I have a little helper in the kitchen with me.

Chalkboard Fun

Elly loves chalk. True, it’s partly because she has acquired a taste for it, but it’s also because it can be erased easily, providing endless hours of drawing or at least a solid 10 minutes.

So when Elly drew on the newly painted attic door with permanent marker, I decided to repaint it using chalkboard paint.

Now when she gets tired of helping me cook, she can draw.

Because I needed a place to jot menu ideas as well as items to be added to the grocery list, I made a miniature chalkboard for me too.

Total cost for both – $12.25
Chalkboard paint from Walmart – $10
Frame from Memories n More, local consignment store – $2
Yellow paint – from stash
Acrylic coat over yellow paint – also from stash (and to think I was going to throw out all my paint because I hadn’t used it in over a year)
Chalk from Walmart – 25 cents

2 chalkboards just means more happiness in my turquoise kitchen!

Happy Dance in my Kitchen

Finally, the last of the kitchen cabinets are painted!

I’m so happy! It looks better than I imagined it would.

Before I just loved the layout of my kitchen and the awesome stove, but now I love the feel of the whole room. It’s so bright and cheerful! Somebody pinch me.

Before with the 1970’s avocado green

Now with the turquoise 

Oh sure, I still have a laundry list of things that need to be upgraded, like the floor, the faux vent, the backsplash, and the island. And I would cut my left arm off just to get some more lighting. But all those things cost considerably more than a can of paint, so they’ll have to wait.


This post joined TDC’s link party!

TDC Before and After

A Turquoise Makeover

I love my kitchen.

True, it is stuck in the 1960’s but I think the outdated decor gives it charm. Besides the stove is to die for with extra space in between the burners and two ovens.

I have received lovely comments about the avocado green cabinets. I have tried to live with the color these past 6 years. I have even tried to embrace it by making a matching fan cover

(see it above the stove?) and lining the shelves in green.

Yet, the color just feels drab to me.

So, yesterday I decided to see what different colors would look like on the cabinets by painting small sections with acrylic paint. First, I tried red. It was nice. Then, I tried my favorite color turquoise.

I just stood there grinning from ear to ear. It made me so happy. This was the color for me!

Can you see it?

Unfortunately, some prep work has to be done before I can paint the cabinets. There are years worth of grease coating the cabinets that must be scrubbed off first. I’m hoping Dawn will make mean work of it.